I needed to make a quick self-portrait photo, but I wanted see if I could do it without heavy, full-size studio equipment. So I decided to try an all-hotshoe-flash technique using just what was in my camera bag and only lightweight, portable gear.
I grabbed my Nissin 466 first. That's a small, lightweight flash designed to work with Micro Four Thirds cameras. It's got a reasonable Guide Number of 36 and decent features, but is scaled down to match M43 cameras. I put it on its base stand, and wrapped a Honl Speed Strap around the flash head. That let me velcro on a Honl "Just Blue" color gel and point it up at a boring white wall to create the background blue I wanted. It has two "optical slave" modes -- you can set it to fire when it "sees" a flash pop, or, because TTL flash often uses a "pre-flash" you can set it to work with that.
Then, I wanted a softbox look without feeling like I was putting together a camping tent. So, I grabbed my Softlighter II. It packs small (it's really like an umbrella with one extra piece of fabric) and it is really lightweight despite being really large -- its the 60-inch model, which can light two people reasonably well. (More importantly, it sets up fast -- open the umbrella, attach the diffusion cover and you're done.)
What light to put inside? I didn't want to drag out a monolight kit. So, after I put the Softlighter on a lightweight light stand, I put an adapter on the top of the stand and attached my Metz 58 hotshoe flash. It's bigger than that Nissin, but it's got plenty of power -- Guide Number 58, a match for the Canon 580 ex II or the top Nikon flashes. It's enough, at a setting of 1/8th power, to easily fill the Softlighter at the level I'd need for a portrait and it's still relatively small and lightweight compared to a monolight.
How to trigger it? I put a Cactus V5 transceiver under the flash and set it to "receiver" -- then I picked a channel, grabbed another Cactus V5 and set it to "transmitter" and the same channel. I put that on top of my Panasonic GH1 and set the camera on a lightweight tripod. The GH1 was right in the spirit of what I was doing -- it's tiny, lightweight, good at reasonable ISO settings, and I particularly like it because of its video capabilities.
For a head-and-shoulders portrait, I like my Leica 45mm f/2.8. This is a fantastic lens that is underappreciated in the Micro Four Thirds community. (If you read the photo forums, you'd get the impression that this is the most unusable, expensive lens ever -- and nothing could be further from the truth. It's a great lens, priced at a match for its quality (but not expensive compared to most Leica lenses), and really really usable. Small, lightweight, sharp wide open at f/2.8, and just perfect for this type of shot.)
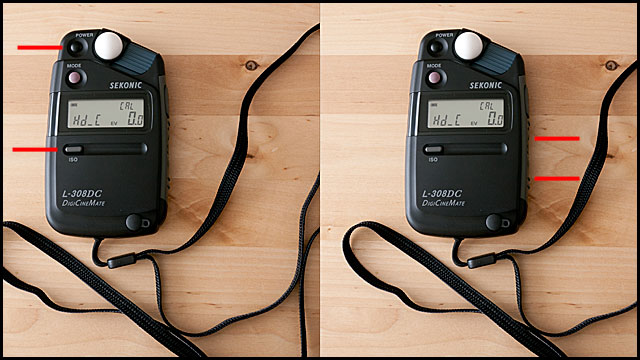
I metered using a Sekonic L-308DC. That's the newer model that does ambient, flash and now "Digital Cinema" mode, which makes metering for recording video with your DSLR or mirrorless camera a bit easier.
I forgot to include one detail in my lighting diagram below: if you check out the catch lights in the eyes, you'll see I also threw a small reflector on the floor to add a touch of fill.
Now: I just need a good retoucher....